You may have seen on my Facebook Page that we celebrated Bruno's parents (Pasquale and Jeannette) 50th Wedding Anniversary last week. We surprised them by bringing over lots of food for the family to enjoy together.

Of course, no celebration would be complete without a card! And, this one was a whopper!

The card base was ..... AN ENTIRE PIECE OF A4 CARD STOCK!
First of all - this was the inspiration for the card. It is the box which contained the light box we received at OnStage in April.

Wanna know how Bruno made the card? The steps are found below;
- Score an A4 thick Whisper White sheet down the middle (long ways).
- Cut a piece of Night of Navy allowing a 3mm border all around.
- Cut a piece of Thick Whisper White allowing a 3mm border all around. Stick down to piece of Night of Navy in the previous step using the glue of your choice. In the tutorial below, this piece will be referred to as the 'sentiment base.'
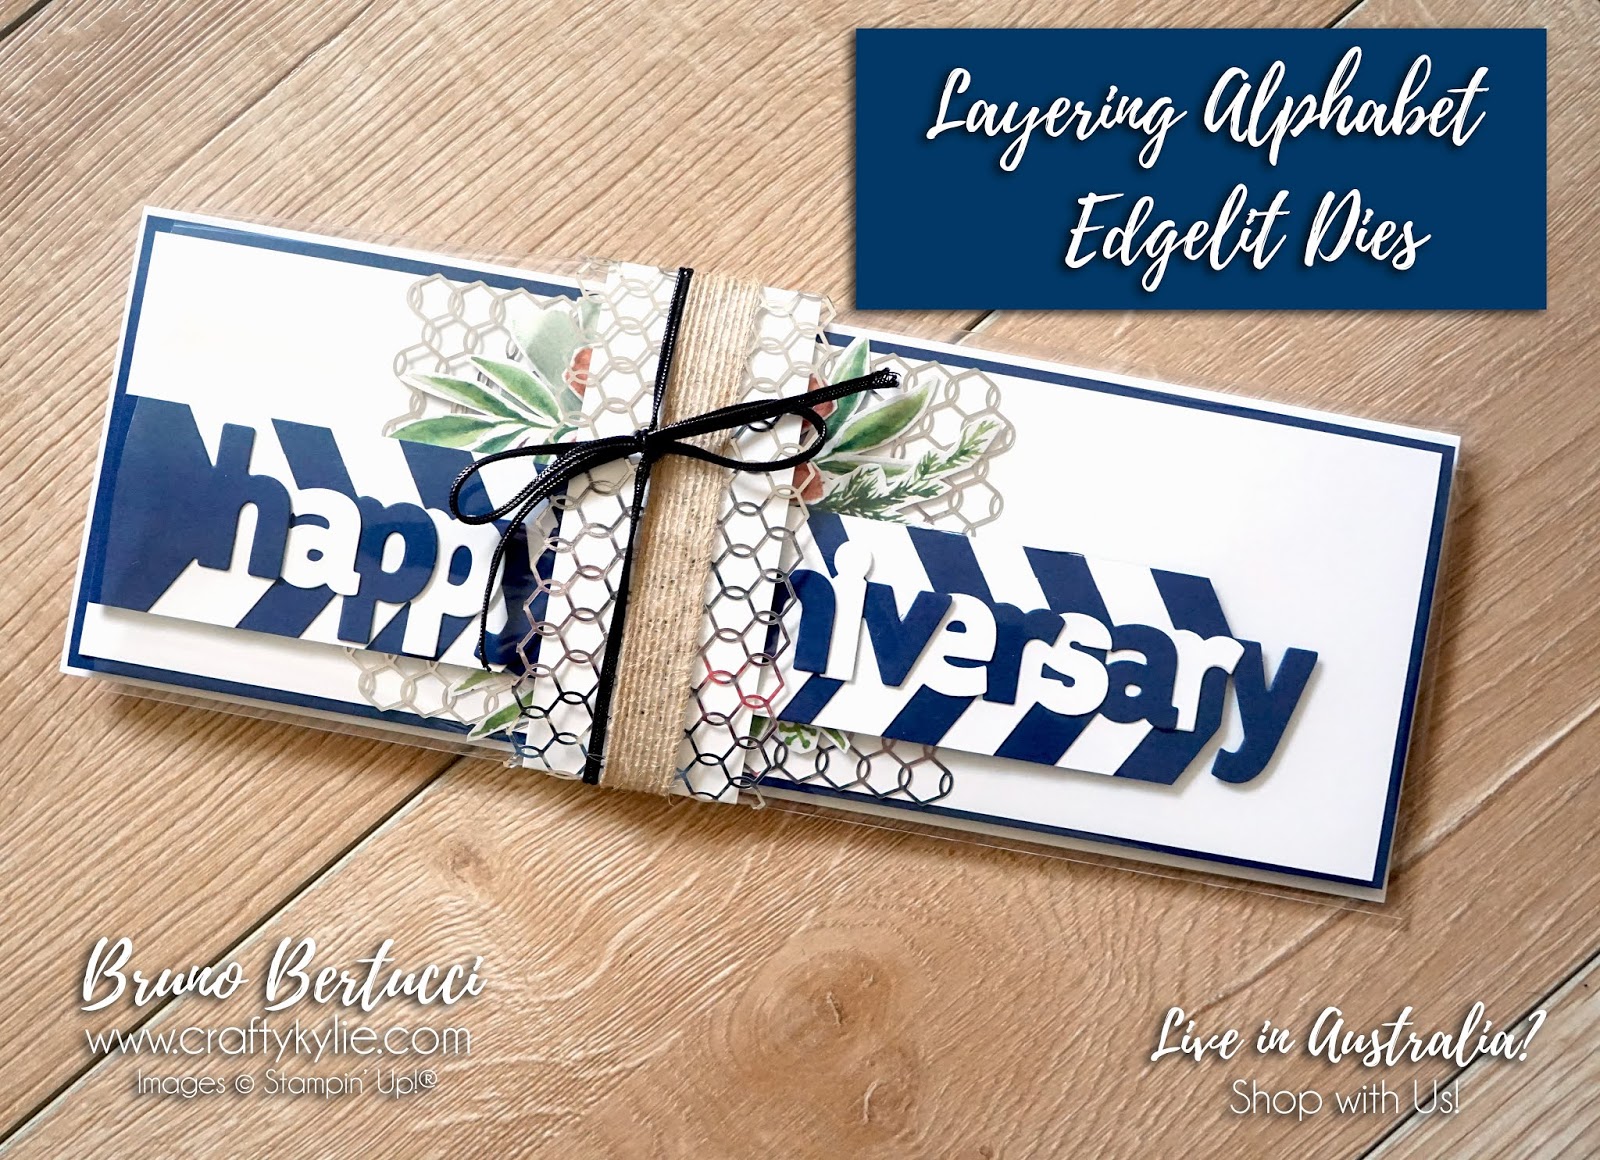
- Using the Layering Alphabet framelit kit, cut out all of the letters spelling out 'Happy Anniversary.' As Bruno drew the inspiration from the new Stampin' Up! branding, he used Night of Navy and Whisper White and alternated between these two and cut out all of the letters.
- Using the glue of your choice, stick the letters together.
- Cut this large sentiment down to size. We allowed approx. 1.5cm above and below the letters. The sentiment strip was approximately 5cm high. Using dimensionals, we applied these to the underside of the sentiment strip, but didn't fix it down yet.
- Stick down the chicken wire elements to the sentiment base. Use Washi tape in the area that is covered by the sentiment strip.
- Using the BEAUTIFUL sheet of paper from the Frosted Floral Designer Series paper and some snips, cut out the flowers and leaves as shown the photograph. Use the sentiment strip to arrange and see how the flowers look above and below the sentiment. Once you are happy with the arrangement, stick down to the sentiment base.
- Unstick the dimensionals to the rear of the card base and stick to the sentiment base. This now completes the card.
- Using Foam Adhesive Strips, stick the sentiment base to the card base.
Because it was quite intricate with the flower pieces, I forced Bruno to come up with an idea for the envelope. He came up with a neat idea of using a cello-bag. We sourced a supplier for our 6x12 paper which we use for our Paper Shares and #loveitchopit club. So, he cut it down in size so that the edge of the card stuck out by about 1cm and made a belly band using more chicken wire, white card stock, burlap ribbon and Black cord trim.
Here are the products you will need to make this project;
Note: Australian Residents Only

 Specialty Designer Series Paper")


 Burlap Ribbon")
 Cord")


And, here are some more photos from the night with Bruno's family.

Who do you think Bruno looks more like?

We got some of Pasquales favourite donuts. Well, Bruno loves the donuts and framed the sentence like this 'Lets get some of the donuts that my dad likes!' hahaha!!!

September's Tutorial Bundle
12 AMAZING exclusive Tutorials $20AUD


Everything and everyone looked fantastic. What a great card. I know how much work that took because I did one with only 5 letters! The flowers were gorgeous. His parents look so young and still in love. Thanks for sharing your family with us.
ReplyDelete